
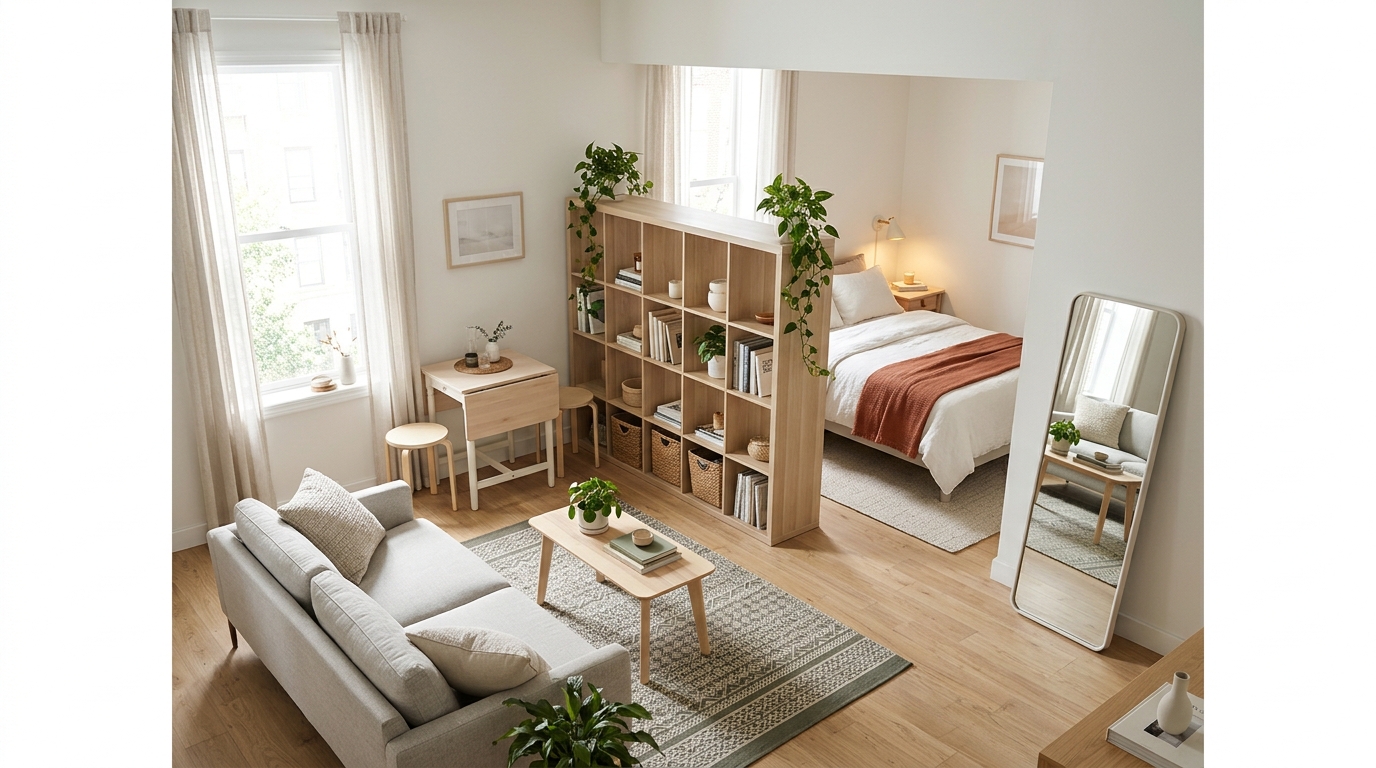
12 Studio Apartment Layouts That Make 400 Sq Ft Feel Twice as Big
Living in a 400-square-foot studio apartment often feels like a constant, high-stakes game of furniture Tetris. When your bed, living room, dining spot, and home office all share the exact same four walls, the space can quickly start to feel cluttered, overwhelming, and claustrophobic. You wake up staring at your desk, work all day staring at your bed, and spend your evenings trying to figure out where to put a single coffee table without tripping over it.
Here’s the good news: making a small studio feel spacious isn’t about throwing away all your belongings or living like an extreme minimalist. The real trick lies in smart functional zoning.
By strategically positioning your furniture, creating distinct visual boundaries, and playing with vertical height, you can trick the eye and turn a single open room into a multi-functional home that actually flows. Whether you’re trying to hide your unmade bed from guests, carve out a dedicated WFH nook, or simply make your entry feel like an actual hallway, these 12 studio layout blueprints will help you maximize every single square foot—without losing your deposit or compromising on style.
The #1 Golden Rule of Studio Living: Visual boundaries are just as powerful as physical walls. You don’t need a heavy door to create a new “room”—you just need an intentional anchor.
Physical & Visual Dividers
The biggest challenge in any studio is the “fishbowl effect”—the feeling that every part of your life is happening in one single, exposed space. The goal of this section is to break up sightlines and create physical or visual privacy, without making your apartment feel boxed-in or dark.
Layout 1: The Open-Back Bookshelf Divider
Instead of building a temporary wall that blocks natural sunlight, place a tall, open-back shelving unit (like an IKEA Kallax or a frame-style bookcase) perpendicular to the main wall, right between your sleeping area and your seating area.
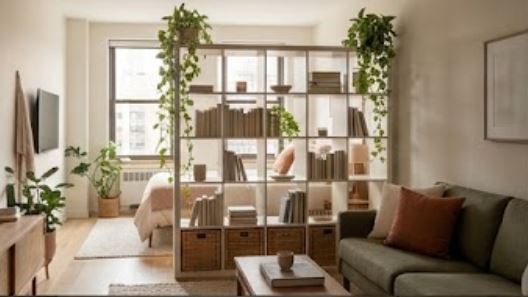
- Why It Works: It creates a distinct physical wall that hides the bed, while the open cubbies let natural light filter through to the rest of the room. Plus, you get double-sided storage.
- Pro Tip: Keep the top two shelf rows sparse. Style them with trailing plants, glass vases, or woven baskets so sunlight can pass through easily.
Layout 2: The Floating Corner Bed Setup
Tucking your bed into the farthest corner from your front door opens up the center of the studio for daily living. Position the headboard against one wall and the side of the bed snugly against the adjacent wall.
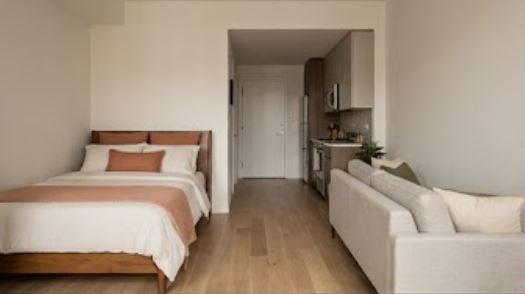
- Why It Works: Pushing your largest piece of furniture into an unused corner consolidates your sleeping footprint. This leaves a wide, uninterrupted central pathway running from your entryway straight through to your living zone or balcony.
- Styling Note: Add a high-contrast art piece or wall sconce above the bed to anchor it as a cozy alcove, rather than looking like an afterthought.
Layout 3: The Sofa at the Foot of the Bed
For long, narrow studio floor plans, place the back of your sofa directly against the foot of your bed, facing outward toward your media setup or main window.
- Why It Works: This back-to-back layout completely eliminates dead floor space behind the couch. The sofa back acts as a natural footboard for the bed, instantly dividing your night space from your day space in a single footprint.
- Pro Tip: Choose a sofa with a sleek, finished back (avoid visible zippers or loose Velcro flaps) or drape a textured throw blanket over the top edge for a clean visual separation.
Layout 4: The Half-Wall Tension Curtain Zone
If you’re a renter who can’t drill into ceiling joists to hang track lighting or heavy rods, floor-to-ceiling tension rods paired with lightweight linen curtain panels are your best friend.
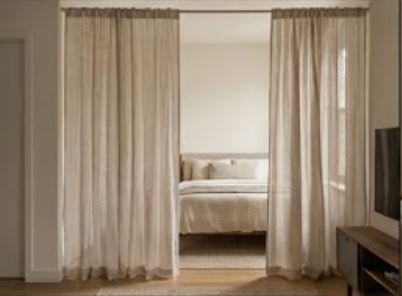
- Why It Works: A ceiling-high curtain gives you instant floor-to-ceiling privacy. You can pull it completely shut to hide an unmade bed during the day or when guests come over, instantly creating the psychological feel of a true one-bedroom apartment.
- Renter Hack: Choose sheer or light-neutral fabrics (ivory, oat, or soft beige). Heavy blackout curtains can make a small room feel claustrophobic, but semi-sheer linen keeps the space feeling airy and bright even when closed.
Renter-Friendly Divider Rule: Never block your primary window. Whatever divider you choose—shelves, screens, or curtains—make sure it runs perpendicular to your window wall so natural light can reach every corner of the studio.
Light, Sightlines & Scale
In a 400-square-foot studio, physical space isn’t the only thing that matters—visual weight plays an equally massive role. If your furniture blocks sightlines or cuts off natural light, the apartment will feel dark and cramped regardless of its actual footprint.
This section focuses on using scale, glass, mirrors, and multi-functional setups to trick the eye into seeing more depth and openness than is actually there.
Layout 5: The Glass & Mirror Sightline Blueprint
Position a large, full-length leaning mirror on the wall directly opposite or adjacent to your main window. Pair this setup with clear acrylic or glass coffee and side tables in your central living zone.
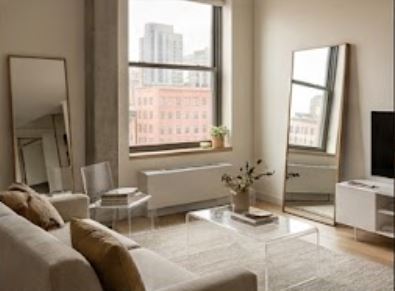
- Why It Works: Mirrors bounce natural light deep into dark corners, visually doubling the depth of the wall they sit on. Transparent acrylic and glass furniture have zero visual weight—your eyes pass right through them, making the surrounding floor space look continuous and uncluttered.
- Pro Tip: Look for a mirror with a thin, minimal frame in brass, light wood, or black steel. Avoid bulky, ornate frames that consume valuable visual real estate.
Layout 6: The Kitchen Peninsula Breakfast Nook
When a studio lacks space for a traditional dining table, set up a slim, pub-height console table against the back of your sofa or right along your kitchen wall, complete with two tuck-under bar stools.
- Why It Works: It creates a dedicated eating and prep area without swallowing up central floor space. When you aren’t eating, the stools slide completely under the counter, keeping your walking paths wide open.
- Multi-Use Advantage: This setup doubles as an ideal work-from-home standing desk or laptop station, keeping your work life off your coffee table and away from your bed.
Layout 7: The Woven Screen Alcove
Folding room screens made of natural materials—like woven rattan, light bamboo, or framed linen—offer flexible visual separation without requiring any permanent mounting hardware.
- Why It Works: Unlike solid wooden dividers, textured screens diffuse light while masking what’s behind them. Placing a 3-panel screen at a slight angle near the head of your bed visually tucks your sleeping space into a cozy alcove without heavy construction.
- Renter Hack: Because these screens are lightweight, you can easily fold them flat and slide them behind a wardrobe or under your bed whenever you need extra floor space for entertaining.
Layout 8: The Wall-Mounted Drop-Leaf Desk Zone
Carving out a dedicated home office in a small studio usually means sacrificing a couch or nightstand. A wall-mounted drop-leaf desk or floating secretary desk solves this problem instantly.
- Why It Works: When open, it gives you a sturdy, dedicated surface for your laptop and coffee. When your workday ends, the desktop folds down completely flat against the wall, giving you back precious floor space and visually ending the workday.
- Pro Tip: Mount two floating shelves directly above the drop-leaf desk. This turns the entire vertical wall into an efficient home office hub while keeping desk supplies off the floor.
Design Scale Rule: Match the scale of your furniture to the scale of your apartment. One oversized 3-seater sectional will overwhelm a 400-sq-ft room, whereas a low-profile 2-seater sofa with exposed slender legs allows light to pass underneath, making the room feel open and expansive.
Strategic Zoning & Vertical Tricks
When horizontal floor space is limited, the key to unlocking an extra 100 square feet of visual capacity lies in two strategies: grounding your functional zones and utilizing your vertical wall height.
This section covers how subtle floor cues and vertical storage tricks draw the eye upward and keep your living space looking uncluttered.
Layout 9: The Rug-Zoned Living Blueprint
Visual boundaries are often just as effective as physical walls. Lay down two distinct area rugs—a plush, low-contrast rug beneath your bed and a patterned or textured rug anchoring your sofa and coffee table.
- Why It Works: Rugs act as visual island anchors. They signal to your brain that the studio isn’t just one big open floor, but two distinct, intentional rooms sharing the same area.
- Pro Tip: Leave at least 12 to 18 inches of exposed flooring between the edges of the two rugs to clearly define the boundary line between the zones.
Layout 10: The Low-Profile Furniture Flow
Choose low-slung platform beds without tall footboards, armless loveseats, and low coffee tables that sit close to the ground.
- Why It Works: Keeping your furniture low increases the distance between the top of your sofa or bed and the ceiling. This extra clearance deceives the brain into perceiving standard 8-foot ceilings as soaring and spacious.
- Styling Note: Pair low-profile seating with floor-to-ceiling drapes mounted right at the ceiling line. The contrast between low furniture and full-height curtains dramatically exaggerates your room’s vertical scale.
Layout 11: The Entryway Hallway Illusion
In studios where the front door opens directly into the living room or bed area, set up a narrow console table, a wall-mounted coat rack, and a runner rug right next to the entrance.
- Why It Works: It creates a dedicated entryway foyer. Having a designated spot to drop your keys, shoes, and mail keeps clutter from spilling over into your main living space right when you walk through the door.
- Renter Hack: Install an adhesive or over-the-door mirror right above the console table to reflect light back down your entry path.
Layout 12: The Vertical Wall Unit Command Center
When you run out of floor space, shift your storage strategy upward. Install tall, modular shelving or bookcases that extend all the way up toward the ceiling around your TV or headboard.
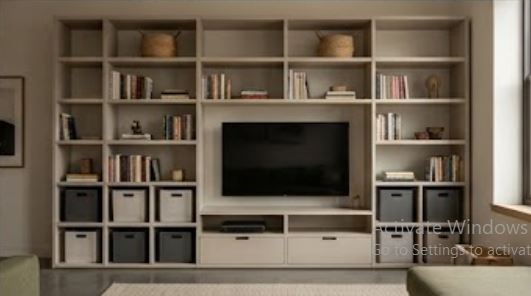
- Why It Works: Floor-to-ceiling units draw the eyes upward, making full use of unused vertical wall space. Storing books, media, and decorative bins vertically keeps your floor clear and walking paths open.
- Pro Tip: Use uniform, opaque storage baskets on the lower shelves to hide messy items, and leave upper shelves open for lighter decor items and trailing plants.
The Vertical Storage Rule: Always leave at least 20% of your open vertical shelving empty. Overstuffing high shelves creates top-heavy visual clutter that makes small rooms feel top-heavy and cramped.
Summary & Practical Takeaways
Transforming a 400-square-foot studio apartment from a cramped, single-room setup into a cohesive, multi-zone home doesn’t require knocking down walls or spending a fortune. It simply requires working with your footprint rather than against it.
The 3 Golden Rules for Small Studio Success
- Maintain Clear Walking Pathways: Always leave a minimum of 30 inches of clear floor space between your main furniture pieces. If you constantly have to turn sideways to squeeze past your bed or coffee table, your layout is restricting flow.
- Prioritize Multi-Functional Furniture: Every piece in a 400-square-foot apartment should earn its keep. Look for storage ottomans, bed frames with built-in drawers, drop-leaf tables, and nesting side tables that can be tucked away when not in use.
- Stick to a High-Contrast Light Palette: Keep your foundational pieces (sofas, rugs, and major shelving) in warm off-whites, creams, light grays, or natural wood tones. Save bold colors and high-contrast dark accents for throw pillows, art frames, and smaller decor items to maintain a bright, spacious feel.
Quick Layout Checklist Before You Rearrange
- Is your bed positioned away from the front door’s direct sightline?
- Are your room dividers running perpendicular to your windows to let natural light filter through?
- Have you anchored your sleeping and living zones with separate area rugs?
- Is your work-from-home setup hidden or folded away at the end of the day?
By focusing on visual sightlines, leveraging vertical height, and creating clear functional zones, you can make your studio feel twice its size—all while keeping your space stylish, comfortable, and 100% renter-friendly.